The Injection Molding Process | Mass-Produce Small Components Quickly
Injection molding is a popular manufacturing process because it’s one of the best ways to manufacture plastics. It is especially valuable in the consumer industry, where plastics are a leading component of many products.
Injection molding makes it possible to mass-produce small, detailed components quickly and at a consistently high level of quality. While the plastic components may look simple from the outside, the process to make them is complex and has many moving parts.
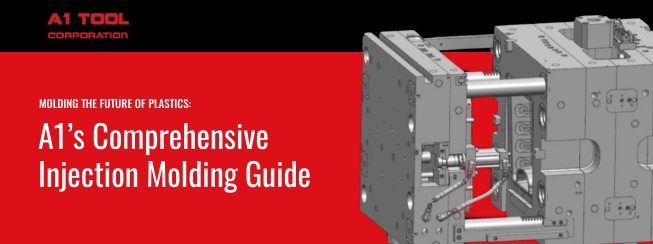
The basic injection mold process uses an injection molding machine, raw plastic material and a mold. Plastic is melted in the injection molding machine and injected into the mold where it cools and solidifies. Then the plastic items are processed into final ready-for-use parts.
The process produces products that vary greatly in size, complexity and application. Injection molding is used to produce plastic parts for a wide variety of applications, one of the most common is plastic housings.
Plastic housing is a thin-walled enclosure, often requiring many ribs and bosses on the interior. These housings are used in a variety of products, including household appliances, consumer electronics, power tools and automotive dashboards.
Other common thin-walled products include different types of open containers, such as buckets. Injection molding is also used to produce several everyday items such as toothbrushes or small plastic toys. Many medical devices, including valves and syringes, are manufactured using injection molding as well.
Steps in the Injection Molding Process
The process cycle for injection molding is very short, typically between just 2 seconds and 2 minutes. But in that short amount of time, these four highly precise steps.
Step 1 — Clamping. This step involves closing the two halves of a mold using a clamping unit that exerts clamping pressure. The hydraulically powered clamping unit holds the mold halves together while exerting enough force to keep the mold securely closed while the plastic is injected.
Clamping pressure is a measurement of the force needed to hold the mold closed during injection. If the pressure is not set high enough the mold will be forced open prematurely by the injection pressure. This will create a defect, called a flash, on the part.
Step 2 — Injection. During the injection step, raw plastic material, usually in pellets, is fed into the injection molding machine. The injection unit moves the plastic into the mold. During the process, heat and pressure melt the plastic. The molten plastic is rapidly injected into the mold, and pressure packs and holds the plastic in place.
The amount of material injected into the mold is called a shot. The injection time is estimated by the shot volume, injection pressure and injection power.
Step 3 — Cooling. The molten plastic inside the mold begins to cool as soon as it makes contact with the interior mold surfaces. It is cooled until it is solid enough to be ejected from the mold. Cooling is a crucial part of the injection molding cycle because it has a major impact on both the quality of the part and the productivity of the mold. The mold cannot be opened until the required cooling time has elapsed.
As the plastic cools, it will solidify into the shape of the desired part. The time needed to cool a part in the mold is a significant factor in determining the part cycle time. It’s determined by several thermodynamic properties of the plastic and the maximum wall thickness of the part.
Step 4 — Ejection. The last stage of the process is ejecting the mold from the machine. This is done with an ejection system. When the mold opens, the part is pushed out. Force must be employed because parts shrink and stick to the molds.
As soon as a part is ejected, the mold can immediately be closed again, and another shot injected. Then the four-step process begins again. Molds of sufficient quality allow this process to be repeated over and over, create hundreds of thousands of parts in a relatively short amount of time. This means you’ll gain the maximum return on your investment in industry-leading molds, rather than repeatedly purchasing defective molds.
Learn about the injection molding process and more — download our free, comprehensive Injection Molding Guide today!


